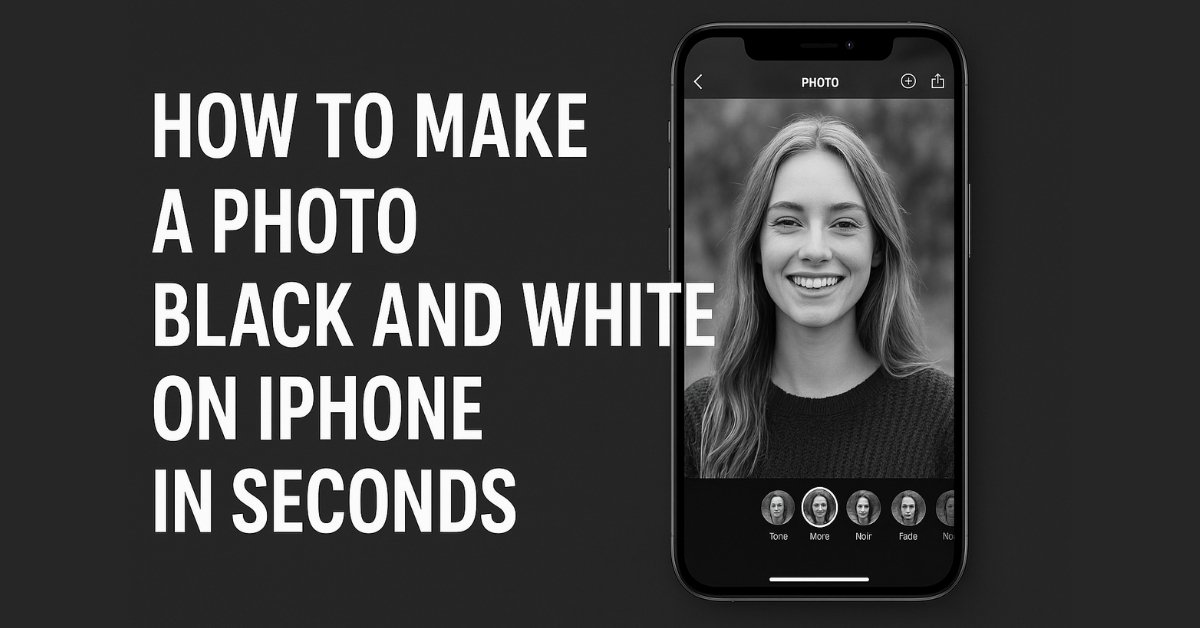
Are you interested in making your photos classic and cool? Good news! It is easy to make an image black and white on your iPhone. You don’t need any fancy apps. I frequently use the tools that I already have on my phone.
This is how easy it is to make a photo in black and white on your iPhone. It is an amusing method of making those favorite shots look classic. It can be done within one minute. Willing to make your pictures look new and fresh? We should jump in and know how now.
What is Black and White Photography Really?
Is it not some picture colorless? It’s a different way of seeing. When you take away color, you emphasize what really counts in a scene.
It is best to think of it in the following fashion:
Black and white will tell you how something feels, whereas color will tell you what it looks like. It makes you concentrate on the main aspects of a good image:
- Light and Shadow: That is the center of it. The duet of light whites and dark blacks brings out mood and drama.
- Touch: You feel the surfaces with your eyes, how hard or soft the material can be, and the skin.
- Emotion: A smile will be lighter, and a silent moment will be much calmer. Black and white cuts right to the heart.
- Shape and Lines: There is nothing like color, as the powerful curves of a road, or the contour of a face, will be the chief attraction.
This knowledge is the key to realizing the eternal images that will not be reduced to a mere filter.
|| Also read Pixel 9 Pro XL vs iPhone 16 Pro Max: Which Wins in 2025?
How to Take Black and White Photos With Your iPhone Camera?
Have you ever noticed that you can see the world in black and white before you take the picture? It will be a game-changer to use your built-in camera tools in this manner. It teaches you to see magnificent monochrome scenes.
Using the Live Filters
This is the quickest manner of shooting in black and white. Here’s how:
- Open your Camera app.
- Access the Settings Bar
- Open the Filters Menu
- Select a Black & White Filter
- Take tour photo
Here, the magic is the live preview. Your composition is immediately perceived in black and white, and thus, you can adjust your position to get the optimal light and shadows.
A Pro Tip
Once you have selected the Noir filter, simply tap on the brightest part of your picture. Wait until the yellow square comes up on the screen, and then gradually drag your finger down. Observe the shadows becoming darker and the picture getting more depressing. This mere exposure alteration is the key to good contrast.
How to Take Black and White Portraits using an iPhone Camera?
All black and white portraits are emotional. Every line and every expression is narrating something more without color.
Functions of Secret: Portraits of Emotion:
- Get Close: Fill the shot with the face of your subject to get all the details.
- Attention to the Eyes: To get them sharp, always tap on the eyes. Eagle-eyed makes an effective impression.
- Work Soft Light: Take a position close to one of the windows or rough shades. This light is flattering, and the skin is beautiful.
- Keep it Simple: A simple background will not make anything to be the focus of the person.
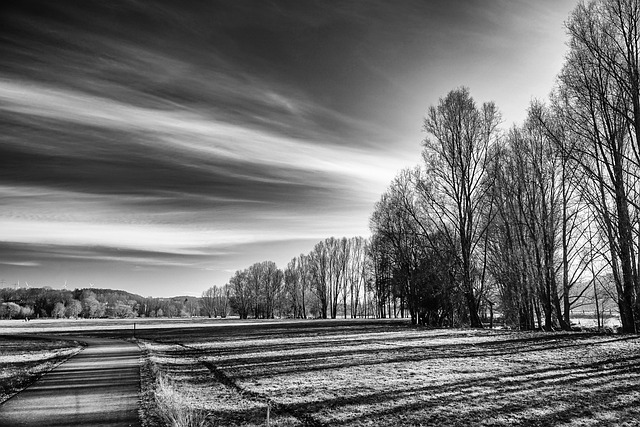
Embrace Minimalism
Sometimes, less is more. Minimalism is the process of taking out all irrelevant things in your photo. This fashion suits black and white.
Dividing the Process of Making Minimalist Photos:
- Find Simple Background: A blank wall, a deserted beach, a clear sky.
- Take Advantage of Negative Space: Do not fear blank spaces. They make your major subject shine.
- Search Strong Shapes: There is one tree, one window, or one figure.
- Simplify Your Edit: Take the time to clean up and make your image look clean and balanced using the B&W features.
This technique is useful in making artistic photography that is without aggression.
How to Turn a Photo Black and White in Lightroom on iPhone.
With adobe Lightroom on your iPhone, you can easily convert your color photographs into professional black and white artworks. This free and strong application enables you to have full access to creativity, which is not limited to merely using filters, but rather produces exquisite black-and-white pictures.
We have created a straightforward tutorial on how to use the advanced features of Lightroom to make colors stand out in black and white, to fine-tune your colors and how to build a dramatic effect that will set your photos apart.
Import Your Image
To start the conversion process, open Lightroom and press the ‘+’ button then choose a photo you want to convert in your camera roll.
Apply B&W Filter
Press the tool of color at the lower menu and choose the button of B&W that is an automatic conversion that will act as your ultimate starting point.
Master Color Mix Sliders
It is the magic that occurs here! Tap Color Mix to make individual color to grayscale conversions. Make blues darker or make yellows lighter to make features appear.
Enhance Light and Texture
Enhance contrast and exposure in the ‘Light’ tools. Gradually add to make details emerge in your final image by increasing carefully the following: Texture and Clarity.
Save Your Creation
Lastly, press the share arrow and the Export Original to save your professional black and white photo to your camera roll.
|| Also read How to Turn Off iPhone 16 Pro (Step-by-Step Guide for Beginners)
How to Convert a Color Photo to Black and White on iPhone With Snapseed
The Snapseed app provided by Google is very professional in its ability to control your black and white conversion, and it is utterly free of charge. Although the inbuilt editor of iPhone is excellent to use in making quick corrections, Snapseed has stronger features of establishing radical monochrome images. Here’s how to use it like a pro.
Download and Open Your Photo
To start with, you must download Snapseed to the App Store in case you have not done so. Open the application and unless you choose a color photo, tap on open and choose one of your camera roll photos. Select an image of your choice that you would wish to convert into a strong black and white image.
Access the Black & White Tool
Use the bottom-screen button that is labeled Tools. In the menu that is displayed, choose Black and White. The photo you take will instantly be turned to grayscale with the default filter of Snapseed.
Choose Your Filter Style
Snapseed has six types of black and white filters. Swipe to the left or right and change your picture:
- Neutral (balanced tones)
- Contrast (darker shadows)
- Bright (lighter overall)
- Dark (moody and dramatic)
- Film (vintage look)
- Light (soft and airy)
Complete with the Adjustment Tools.
Here Snapseed comes in really handy. Press the bar graph stack icon. Five options of adjustment are now available to you:
- Brightness: regulates general levels of light.
- Contrast: Modifies contrast between light or darks.
- Grain: Adds film-like texture
- Ambiance: Light is balanced throughout the picture.
- Selective Adjust: Allows you to lighten or darken particular areas.
Selective Adjust Tool Precision.
Click the plus button to add adjustment spots on certain sections of your picture. Feeling like darkening something and lightening something? This tool lets you do that. Just pinch to be able to regulate the area of the adjustment, then move up or down to become brighter or darker.
Save Your Edited Photo
Once you can say you are satisfied with your conversion of black and white, then tap on the checkmark and then save to save the edited image to the camera roll. Snapseed automatically saves your original color photo on the backup.
Selective adjustment tools in Snapseed are the true accomplishment of the product, since they allow you to make impressive black and white photos with the appearance of a professional photographer that narrates a story of proper light and shadow control.
iPhone Editing: How to Black and White a Photo Using Editing Tools.
Already possess a color image which you need to convert? The Photos application on the iPhone has it all. We are going to consider two methods of editing photos on iPhone to gorgeous black and white.
The One-Minute Filter Method
Fit to be converted quickly and beautifully, perfect:
- Tap Photos then select your photo and tap Edit.
- Tap at the bottom the Filters icon (the three circles).
- Swipe to the black and white filters and tap each of them to preview.
- Tap “Done” to save.
This works awesome in a quick black and white conversion to the social media. However, to do something really great, you must use the following technique.
|| Also read iPad Pro Just Got the Feature Every User Wanted
The Mighty B&W Tools to the Ideal Control.
It is about the magic of the real. These tools do not simply eliminate color, but rather allow you to control how exactly the conversion appears.
- Open your photo and tap “Edit.”
- Click the Adjustments button (in the form of a slider dial).
- Tap the swipe and select the B&W.
There are 4 sliders you can play with now:
- Intensity: Makes the black and white effect more intense or soft.
- Neutrals: Darkens or lightens in the middle tone grays.
- Tone: This will be your contrast control. Slide to the right to be dramatic, punchy.
- Grain: To give it an antique old-fashioned appearance, add a film texture.
The best part? It is non-destructive editing. The photo color is never in danger. You are free to revert and make alterations to your edit.
What to Do Before Taking the Picture: YOUR Pre Shot Checklist.
Good photographs are created prior to the release of the shutter. There is simply no time to wait, because it only takes five seconds to go through this list.
- Find the Light: search some interesting shadows and light sources. Dramatic photos are generally best taken with side-light.
- Clean Your Lens: Clean your iPhone lens with a soft cloth. A sharp photo is a clean one.
- Check the Background: Find untidy distractions that are behind your subject. Your subject has a lifetime on a plain wall or a clear sky.
- Focus and Light: Tap the screen of your main subject. Next, adjust the sun icon slider to make the scene appear the way right.
This is the routine of a professional and the best method of enhancing your iPhone photography through a quick pre-shot checklist.
Conclusion
You are now equipped with the means to shoot beautiful black and white pictures using your iPhone. The plain Noir filter up to the potent B&W editing applications can make common shots dramatic, emotional pictures. It is important to keep in mind that a great monochrome photography is based on light, shadows, and textures and is not about color.
Do not read but begin to shoot! Get used to seeing the world in grey. Work in various lighting conditions and subjects. You need to use the editing sliders in order to discover your style. Creative photography is something your iPhone is a powerful device – it is high time to grab some great shots that can recount great stories without uttering a single word.
Frequently Asked Questions
1. Why do my black and white photographs appear flat?
Your image lacks contrast. The editing feature is the “Tone” slider that allows making shadows dark and highlights brighter.
2. Should I take color or it should be in black and white?
Snap on, colour up and turn it on. This will provide you with greater editing flexibility and will not destroy your original picture.
3. Which weather is most suitable to take black and white picture?
Days are perfect.The soft light reveals beautiful textures without harsh shadows.
4. Those who are the Mono and Noir filters?
Mono is a clean conversion, whereas Noir is a dramatic and high-contrast conversion that has darker shadows.
5. Which is the most appropriate app to use as a black and white editor?
Adobe Lightroom Mobile. It allows playing with the conversion of individual colors to gray shades.
6. Will a conversion to black and white be more economical with respect to saving storage space?
No, you can have the file size that is practically the same as your original color photograph.